
 Happy Easter! Though the title of this post sounds like the name of a campy horror flick, it is actually a confession that a portion of this post is a re-post from last Easter. Well, let's just say that the post is made from recycled materials--just like the faux chocolate bunnies!
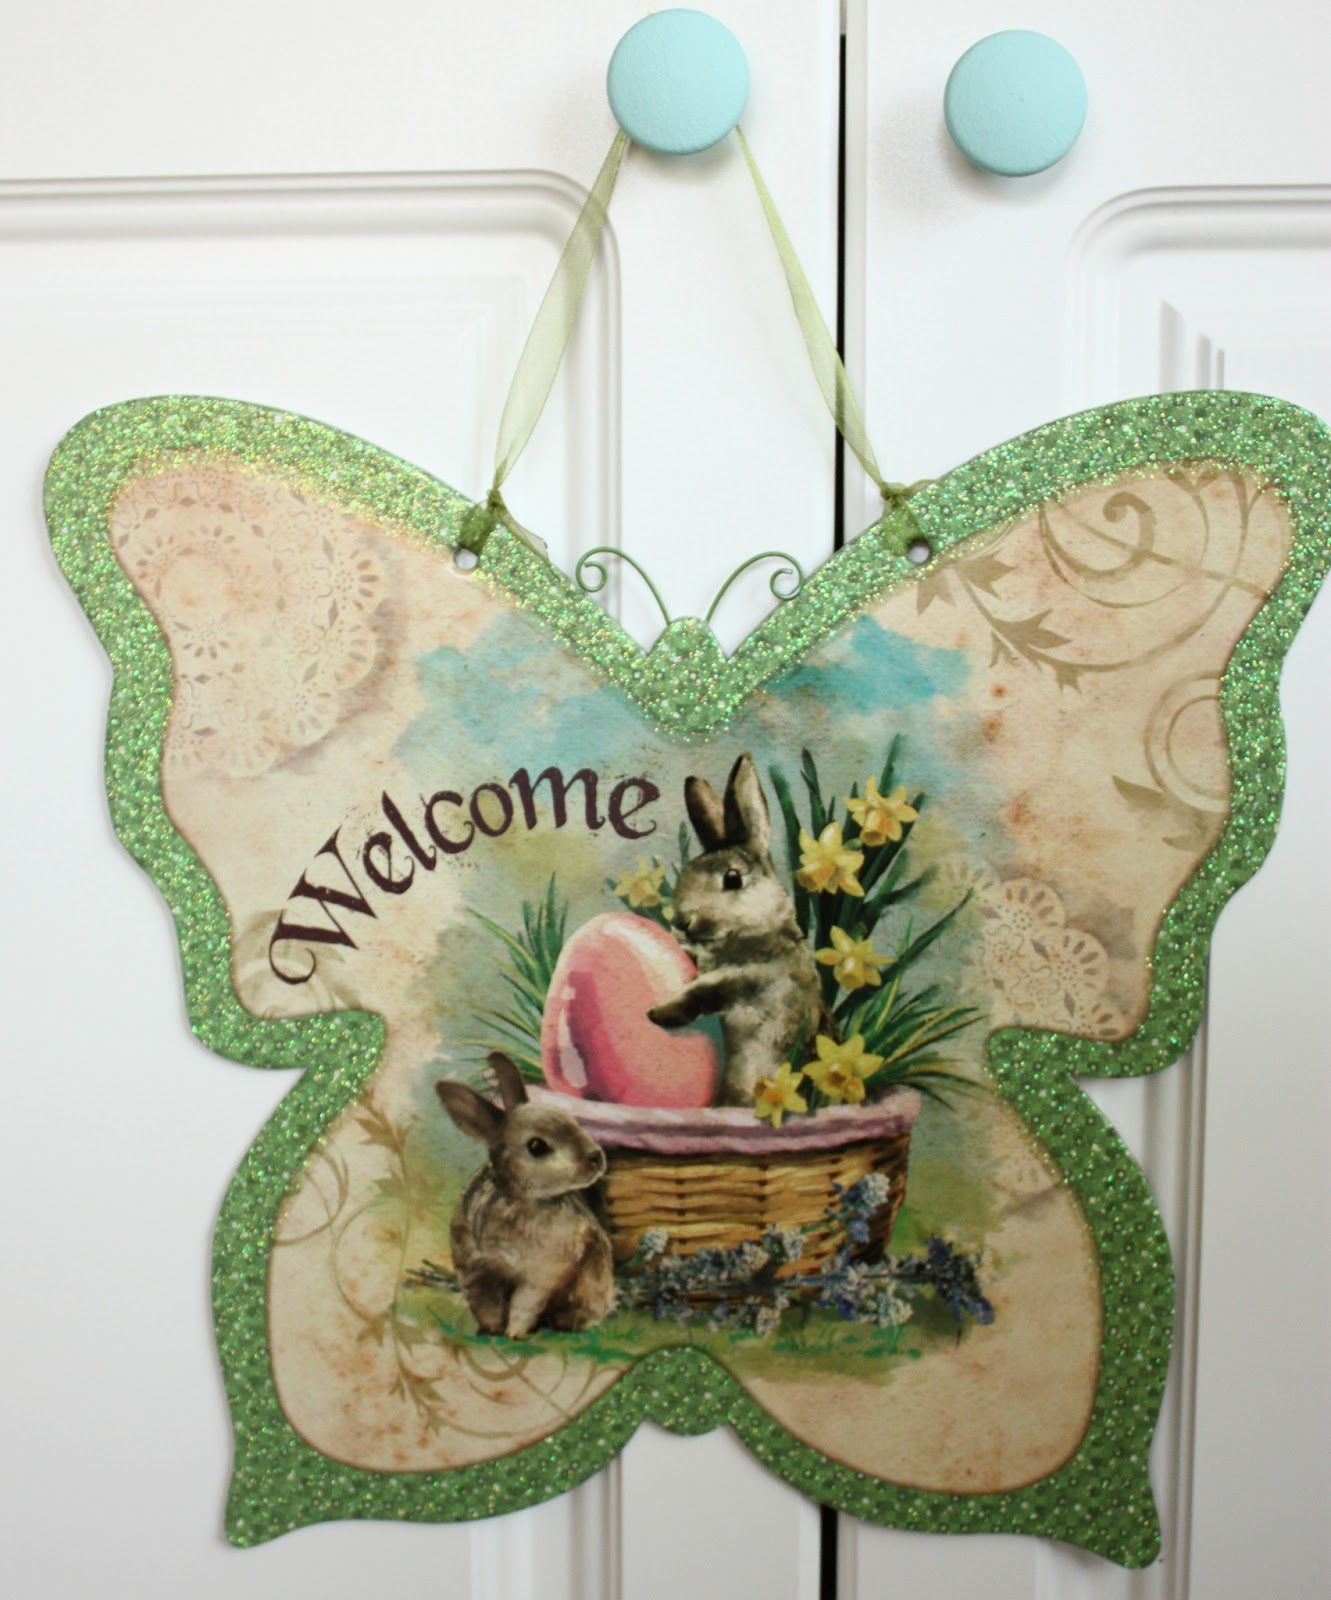
Before the bunnies return, here are a few other Easter-related images.
First, I was tickled to find this cute, glitter-embellished Victorian Easter sign at my local Dollar Tree store. It's about 12" wide and 11" tall. I used to play a little game with myself to see if I could spot the tackiest decor item whenever I visited the Dollar Tree. The competition was usually fierce as the ceramic kitty cats duked it out with the ceramic fishermen! I have to give the Dollar Tree credit for improving their "coolness factor" to the point where there are some decor items that can actually be displayed in the home without first being spray-painted, decoupaged, swaddled in string, or otherwise "altered" first!
I also wanted to share this Easter vignette created by my four year old daughter. In the interest of nurturing her creativity, I have surrendered all efforts to "direct" our seasonal decorating. She has an artist's eye and delights in arranging and rearranging our seasonal "displays" on a low bookcase that we have designated for this purpose. I love how she used the halved papier mache eggs to create little "baskets"--these would make a cute centerpiece lined up along the center of a long table with Easter grass scattered around. Sure, the grass can be messy, but a little extra vacuuming is a small price to pay for Easter joy! Here, we see the Easter Bunny hard at work in his "factory". :)

And now, with no further ado, I give you The Return of the Faux Chocolate Bunnies!
 If you've got aluminum foil, plastic bags, a shoebox, and some brown paint, then you can make these adorable faux
chocolate bunnies, which are perfect for decorating your mantel or
your Easter buffet table. Super-sized, these guys would also make
cute, affordable store window displays for a shop. In this post, I'll
explain how to make both the "wrapped" and the "unwrapped" versions, as
well as the foil-wrapped "chocolate eggs".
If you've got aluminum foil, plastic bags, a shoebox, and some brown paint, then you can make these adorable faux
chocolate bunnies, which are perfect for decorating your mantel or
your Easter buffet table. Super-sized, these guys would also make
cute, affordable store window displays for a shop. In this post, I'll
explain how to make both the "wrapped" and the "unwrapped" versions, as
well as the foil-wrapped "chocolate eggs". Using carbon paper or by tracing, transfer 3 bunny outlines onto 3 pieces of shoebox paperboard--or other sturdy cardboard / tag board. You can find my PDF "chocolate bunny" template here.
(I based my bunny design on a photo of an (edible) chocolate bunny
that I found on the Internet--with a few tweaks--so I hope that sharing
my template with you here falls within the realm of "fair use".) My
bunnies are around 10 inches tall. I made three--two face to the left
and one faces to the right. Be aware of "bunny directionality" as you
trace your bunnies.
Using carbon paper or by tracing, transfer 3 bunny outlines onto 3 pieces of shoebox paperboard--or other sturdy cardboard / tag board. You can find my PDF "chocolate bunny" template here.
(I based my bunny design on a photo of an (edible) chocolate bunny
that I found on the Internet--with a few tweaks--so I hope that sharing
my template with you here falls within the realm of "fair use".) My
bunnies are around 10 inches tall. I made three--two face to the left
and one faces to the right. Be aware of "bunny directionality" as you
trace your bunnies. Burnt
Umber (dark brown) acrylic paint gave the "unwrapped" chocolate
bunnies their color. I enlisted the help of my three year old for the
painting portion of the project. Our paint was thick and left visible
brush strokes, which I thought made it look more like chocolate. Note
our "palette": a lid from a large oatmeal canister. Oatmeal lids make
fantastic palettes for painting, finger painting, and hand prints (they
are the perfect size to fit a little hand). If you have a toddler or
preschooler, I recommend the long-sleeved Crayola art smock as well;
you can find these on Amazon for around $5. As you can tell, ours has
seen heavy use.
Burnt
Umber (dark brown) acrylic paint gave the "unwrapped" chocolate
bunnies their color. I enlisted the help of my three year old for the
painting portion of the project. Our paint was thick and left visible
brush strokes, which I thought made it look more like chocolate. Note
our "palette": a lid from a large oatmeal canister. Oatmeal lids make
fantastic palettes for painting, finger painting, and hand prints (they
are the perfect size to fit a little hand). If you have a toddler or
preschooler, I recommend the long-sleeved Crayola art smock as well;
you can find these on Amazon for around $5. As you can tell, ours has
seen heavy use. Our bunnies curled a bit as the paint was drying, but they flattened out once the paint was dry.
 Once
the paint is dry, use duct tape or hot glue to attach a "stand" to the
back. I used part of the edge of the shoe box lid. You can leave
these "chocolate" guys plain or adorn them with flowers--silk or
paper--or ribbons.
Once
the paint is dry, use duct tape or hot glue to attach a "stand" to the
back. I used part of the edge of the shoe box lid. You can leave
these "chocolate" guys plain or adorn them with flowers--silk or
paper--or ribbons.
 To
make the foil-wrapped "chocolate" bunny, start with the same cardboard
bunny shape. Use hot glue or duct tape to affix the cardboard "stand"
(see stand photo above) to the front
of the bunny, and make sure that it is close to the same width as the
base of the bunny. Use masking tape or painter's tape to attach and
mold rolled / "smooshed" small plastic bags onto the cardboard bunny shape, starting from the base (plastic newspaper
bags are perfect). Crumpled newspapers or tissue paper might work for
this too. When you finish this step, you will have this poor guy, who I
think looks like a hapless kidnapping victim from a bunny horror film:
To
make the foil-wrapped "chocolate" bunny, start with the same cardboard
bunny shape. Use hot glue or duct tape to affix the cardboard "stand"
(see stand photo above) to the front
of the bunny, and make sure that it is close to the same width as the
base of the bunny. Use masking tape or painter's tape to attach and
mold rolled / "smooshed" small plastic bags onto the cardboard bunny shape, starting from the base (plastic newspaper
bags are perfect). Crumpled newspapers or tissue paper might work for
this too. When you finish this step, you will have this poor guy, who I
think looks like a hapless kidnapping victim from a bunny horror film: Here's what the back will look like; there is no stand on this side, as you already have the stand in front:
 Next,
wrap the front with aluminum foil. Mine has the less-shiny side
facing out. Tape the back to hold the foil in place. This may take a
little trial and error. If you need to remove your foil and start
over, just smooth out your foil and try again. Add a bow at the neck.
Next,
wrap the front with aluminum foil. Mine has the less-shiny side
facing out. Tape the back to hold the foil in place. This may take a
little trial and error. If you need to remove your foil and start
over, just smooth out your foil and try again. Add a bow at the neck.While you have the aluminum foil out, why not use it to cover a few plastic eggs to make them look like big chocolate eggs? Use a piece of foil large enough to wrap all the way around the egg with a good-sized "tail" left over. With the egg standing "upright", wrap the foil (non-shiny side out) tightly across the front and gather the excess foil at the back of the egg. Snip excess at the back with scissors. These eggs can be painted (we will be adding some polka dots to ours soon) or kept plain. I imagine that a colored Sharpie marker could be a fun way to decorate these too:
 Add
a little Easter grass and a chalkboard, and you've got an easy Easter
mantel. I made my chalkboard from a piece of thrift store artwork; I
painted the gold frame white and then painted the chalkboard paint
directly onto the "canvas" art. If you've never painted with chalkboard
paint, I invite you to check out this post about my chalkboard table and this post about my chalkboard tray for DIY info.
Add
a little Easter grass and a chalkboard, and you've got an easy Easter
mantel. I made my chalkboard from a piece of thrift store artwork; I
painted the gold frame white and then painted the chalkboard paint
directly onto the "canvas" art. If you've never painted with chalkboard
paint, I invite you to check out this post about my chalkboard table and this post about my chalkboard tray for DIY info. I
think that these bunnies look good enough to eat, and even though they
aren't edible, they would probably taste better than the real chocolate ones, which always tasted like foil to me!
I
think that these bunnies look good enough to eat, and even though they
aren't edible, they would probably taste better than the real chocolate ones, which always tasted like foil to me!Happy Easter!