Today, I'll explain how (and why) I designed and created a DIY flagstone and pebble "mini patio" to make my front door garden prettier, tidier, and--most importantly--easier to maintain. I've mentioned in
other garden-related posts that I love gardening, but I tend to be a lazy gardener--or more accurately, an
intermittent gardener. This little garden area has evolved slowly over time--the photos in this post were taken over a seven year time period--and I'm still fine-tuning this space. An alternate title for this post could be, "Sometimes Being Lazy Takes a Lot of Work."
When we bought our house in 2005, the front door was flanked by Nandina bushes. For awhile, I barely noticed the Nandinas enough to have an opinion about them. Then one day, my husband and I decided that they had to go! Immediately! I posted a Craig's List ad with the title: "Free Nandina Bushes--You Dig 'Em". Two hours later, the bushes were gone. It was a win-win. Actually, if we consider the Nandinas' perspective, it was a win-win-win.

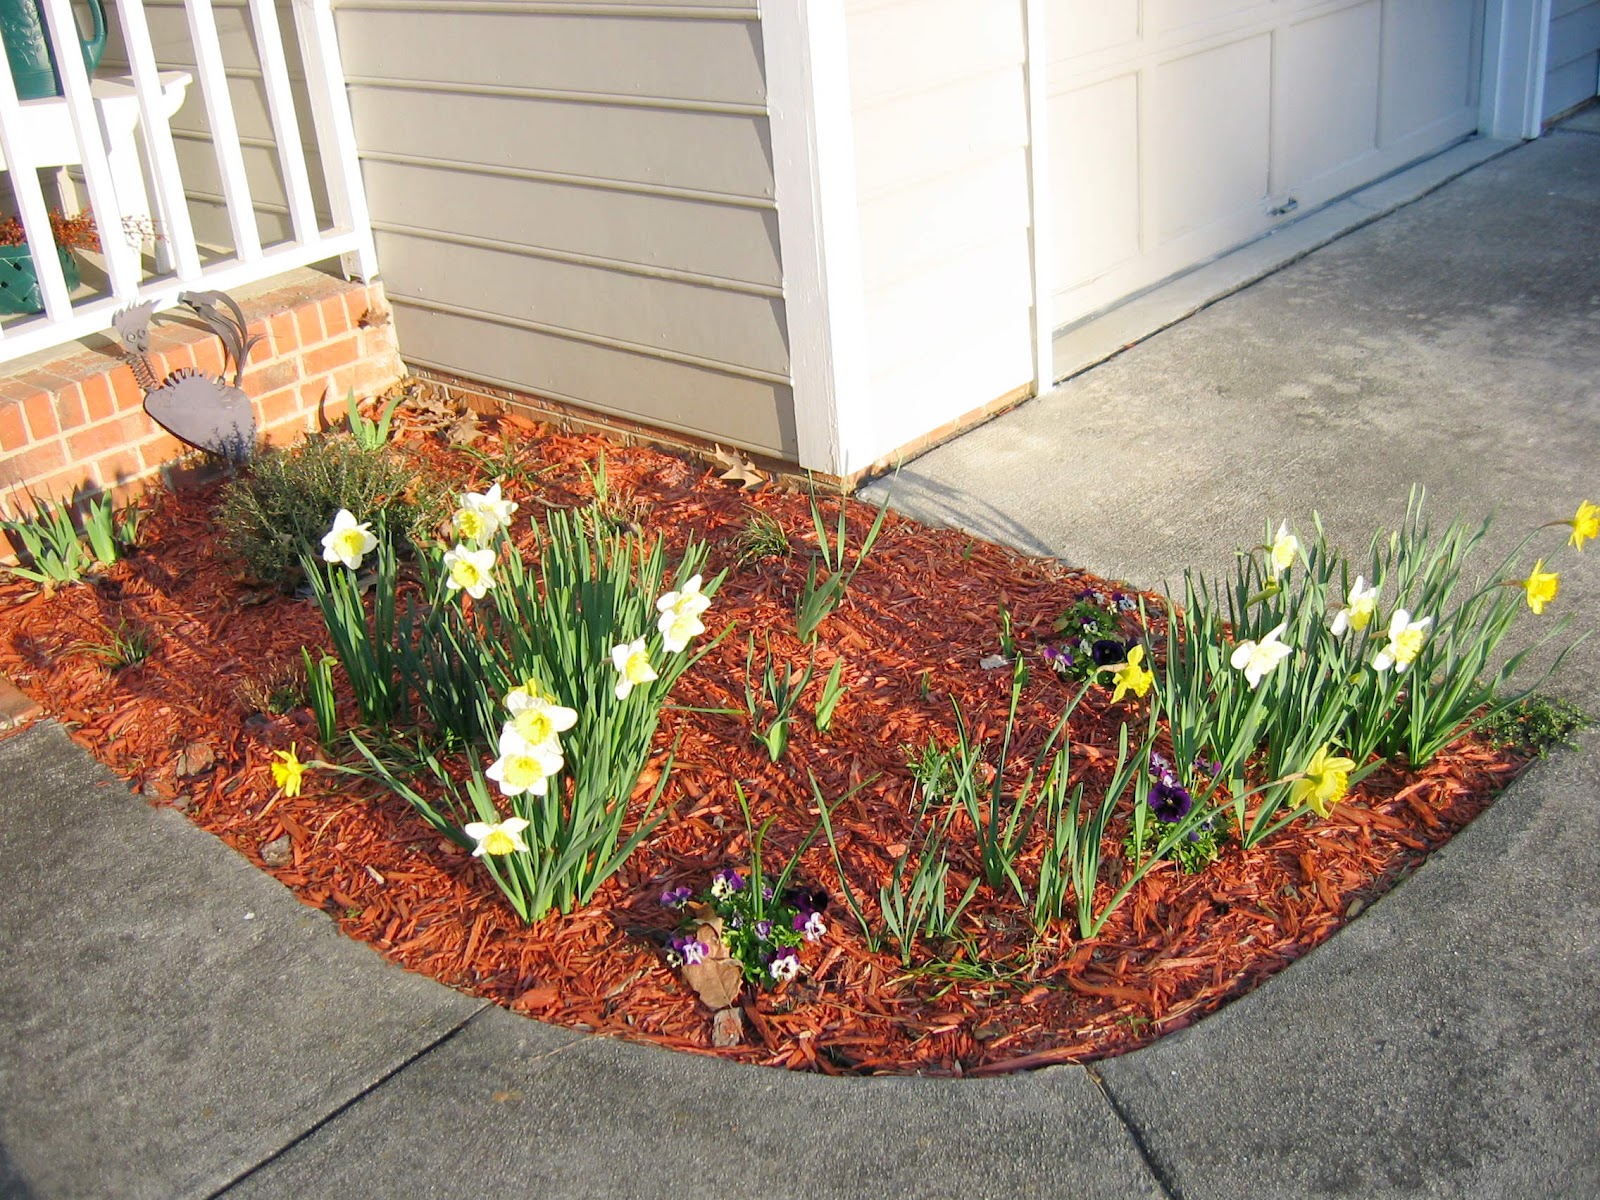
Since there were already some iris rhizomes and daffodil bulbs in the planting area on the right, I left them there and spent a few years trying to figure out the best way to maintain the area. The photo below is from March of 2007. Not very impressive, right?
A year later, I sat down and listed challenges in this garden area. These included: weed control (summer), fallen-leaf management (fall), unattractive "spent" daffodil leaves in spring (which could not be cut back without compromising the next year's bloom), and plant height, spacing, and grouping challenges. I also added "snakes" to the list, as they are my go-to excuse for garden neglect.

It occurred to me that I could redesign this area to include two "zones": a low-maintenance in-ground planting area at the back and a container garden area in front on a foundation of flagstones and pebbles. The latter would allow me to rotate pots seasonally. Rocks, I reasoned, would deter weeds (and handle fallen leaves) better than mulch. And if I played my cards right, maintenance would be heavily weighted toward the pots rather than the in-ground planting area, which translated to fewer snake encounters. (In case you think that my snake aversion is excessive, I'll share that one of our dogs was bitten by a venomous snake in our backyard. Thankfully, she was OK, though her little muzzle swelled up like a toucan bill for a few days.)
Back to the garden. Step one was to dig up the existing bed. Here's what that process looked like. Yes, I am a messy gardener (also a messy cook). This picture was taken in October of 2009:
Did I make this the weekend project that it should have been, zipping through the required steps to the "after" picture? Nope. My nap-resistant baby girl was one year old at the time, so I ended up placing flagstones directly on the soil and living with that "temporary" look for...awhile. I don't remember exactly how long, but the picture below is from June of 2010. See the flagstones and soil in the background? Busted!
Incidentally, this photo is interesting because the miniature roses were originally a small potted Valentine gift from a grocery store. Transplanted, they have lived and bloomed in the garden for years.
There are no photos for these next steps, but here they are in order:
1. Use a shovel and rake to level the dirt (a real gardener would have called the dirt "soil"). Be sure to dig down deep enough so that there will be some kind of border (in my case, the cement path and driveway edge) to contain the pebbles.
2. Cover the dirt with landscape tarp and pin it down tightly.
3. Top the tarp with leveling sand.
4. Lay out the flagstones in a loosey-goosey jigsaw pattern on the sand. Scoot sand around as needed until the tops of all of the flagstones are relatively level.
5. Between the flagstones, add pebbles (purchased in bags-not-too-heavy-for-you-to-carry from Lowe's).
Now that I write these steps, I'm wondering whether there is a better way to do it. In my garden area, weeds root directly in the sand at times, and the sand gets mixed with the pebbles. I wonder if there might be a way to place the leveling sand on top of the soil and then add the tarp and then add flagstones and pebbles directly on the tarp? Hmm. The challenge would be accommodating the uneven thicknesses of the flagstones. I'm thinking hard about this, and it hurts, so I'm moving on. Please feel free to add your thoughts in the comments section if you have tried something like this (the gardening I mean, not the thinking).
I used small shards of flagstone, placed on end (two deep at places), to create a border/wall to contain the mulch that would be in the in-ground planting area.
Here is a close-up of the flagstone and pebbles today. Note that there are a few weeds (also little twigs, seeds, mulch, etc.), but there are fewer than there might otherwise be.

When I was planning this space, I had a hard time finding online pictures of
patios that combined flagstones and pebbles. Now that I own this combination, I know that there was probably a good reason:
when the pebbles get shifted on top of the flagstones, they are like little
slippery ball bearings; it's basically an "I Love Lucy" episode waiting
to happen. That hasn't been much of an issue for us, as this space doesn't see much foot traffic.
Here's a shot that was taken at the end of March, 2011. The irises hadn't bloomed yet--they usually open in April, though this year they bloomed early.
And here's a picture that I took yesterday. The back portion of the garden is primarily irises and daylilies. The front pots change. Right now, the pots are a scraggly mix of pansies and grape hyacinths. I "should" have staged this picture with better/fresher annuals in the pots, but I didn't want to miss the opportunity to snap a picture when the irises were in bloom. In the summer, there will be miniature roses, some wildflowers, and lots of marigolds in the pots. As I mentioned
in a previous post, marigolds will grow beautifully from last year's saved seeds.
Is my execution of this idea perfect? Nope. There should be more flagstones and fewer pebbles (I used flagstones left over from another project and didn't want to order more). Also, at some point, I'll "upgrade" to larger, better-coordinated pots with
saucers underneath them, for goodness' sake, so that the soil doesn't drain out through the bottom of the pots and provide cheap housing for weeds. I'm sharing my warts-and-all gardening effort here in the hopes that it will give you ideas for your own garden, which I'm sure has no weeds. Or snakes.
This post has been linked to great before and after posts for
Metamorphosis Monday at Between Naps on the Porch.